
So there is a supper simple way to create fun images on cloth with... Bleach! You will be working with the area outside the image rather than inside it. (Ok.. I suppose you could also do this with fabric paint and heat set when done.. But bleach is fun!!!)
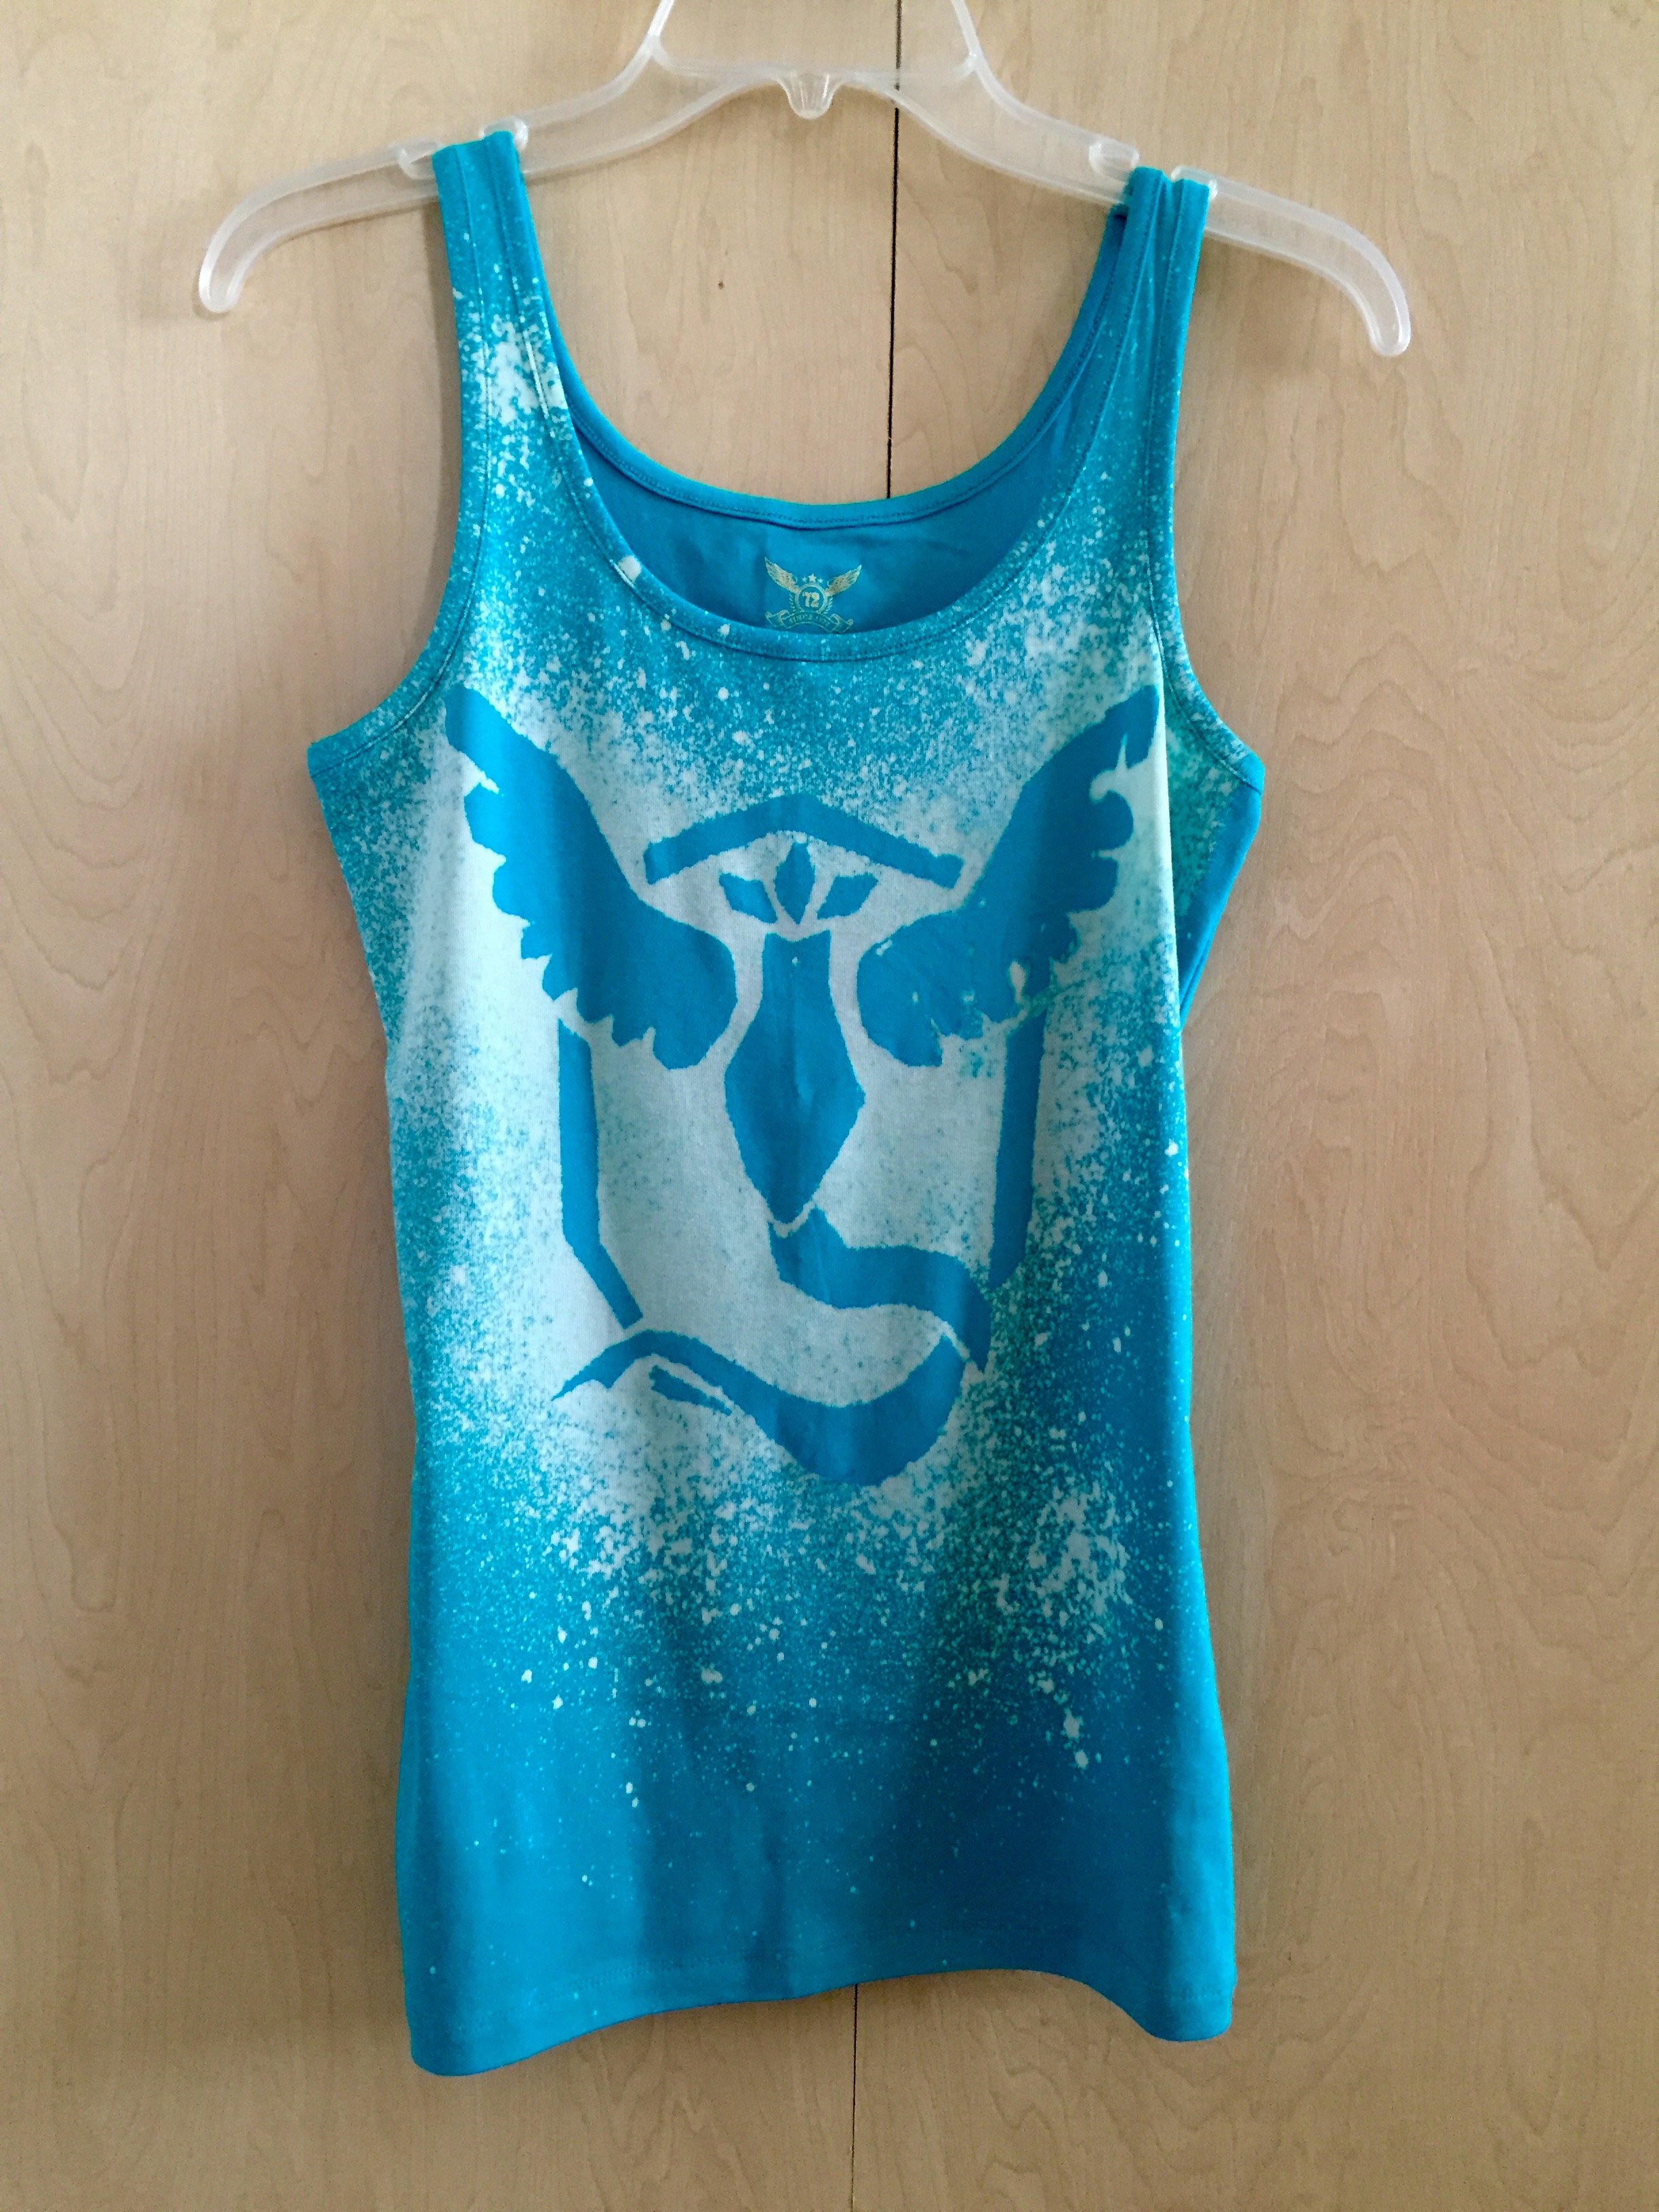
Im doing shirts for a rave and we wanted to represent #teammystic
Here is how to do it!
Step 1) Gather supplies:


a reference of the image you want
clothing you want a new image on (the richer the cloth color the better contrast)
bleaching agent IN A SPRAYBOTTLE (the easiest way to get this is to pick up cleaning supplies at the store. If the back warns about bleaching linonuim then its perfect)
PackingTape (or lamination sheets)
Permeant marker (and pencil?)
scissors
drop cloth (plastic is better)
cardboard (only if you are bleaching a pre-made clothing item)
Step 2) set up your space
lay out the drop cloth!
cut out cardboard to insert in between layers of fabric, the bleach will bleed through. (This is where the pencil can be handy.. To trace the clothing)
open a window.. Turn on a fan.. SOMETHING for ventilation. Please leave the door open, Do not close yourself into a small space with strong cleaning agents.
Step 3) prepare your image

Lay out a sheet of the tape on an easy to remove from surface (like.. The plastic drop cloth). You will want at least 2 layers of tape, 1 in horizontal stripes and 1 in vertical. OR put down one of the lamination sheets.
Trace your image on the sheet with permanent marker.
pull the whole sheet up. You should have a sticky side and a smooth side with your image. You need that sticky side!
cut the image out. Try not to get the pieces folded over on themselves... It will be ok if you do but can create holes when you pull them back apart...
Step 4) apply the image

stick those pieces down on your cloth! Thoroughly pat them down being careful to avoid folds or creases in either fabric or tape

spray that bleach!!! Stand back farther for a finer mist or closer for splotches. Less is more. You can always spray again later, you cant take it back. Once bleached, always bleached.
let rest. (Btw, I don't know about paint... But watching bleach dry is actually pretty fun)
Step 5) enjoy!
peel off the tape (you can save them and do more until the sticky runs out.. And then just slap the pieces on a new tape sheet and cut them out again)
wash on cold cold to make sure you do not have prolonged bleach on skin contact when wearing the cloth.
have fun!!!
Bonus!
This was trial an error. I also tried this with...

Just cardboard cutouts
The thinner areas of the design got lost. This might have been ok if i had weights for the cardboard. There was also seepage of the bleach into areas surrounding the spray.

Combination of freezer paper and cardboard cover
Better than just cardboard, but the paper actually absorbed the bleach and thats why the pattern is splotchy in areas.