
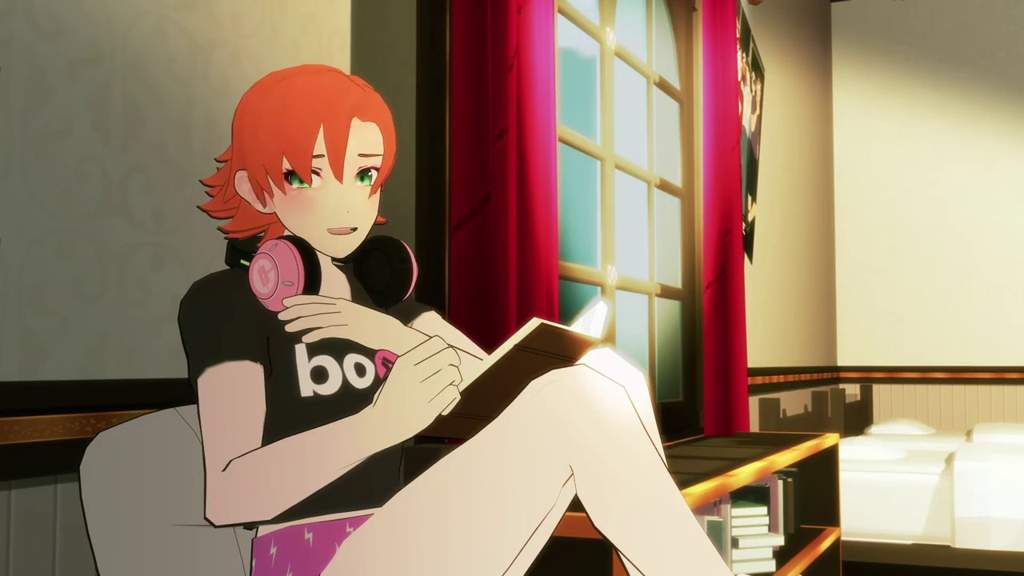
I got some of those iron transfer sheets for dark shirts to do my Boop shirt for Nora’s pajamas from RWBY. I know roosterteeth actually sell her shirt but i wanted to try making it so 🤗
reference
Here is how it worked / tutorial for diy

Get yourself some of this stuff and Follow the instructions!

First print a test image

Then print on the vinyl/transfer paper. And cut out the parts you actually want to iron on. (I kept the black background so if i didn’t cut perfect lines it would not be too obvious). I used a combination of scissors and an exacto knife.

The package recommended separating the decal from the paper backing then cutting stuff out so corners didn’t rip when trying to separate the paper backing from delicate decals. This presented the new problem of the vinal material stretching instead of cutting nicely. Pick your poison I guess. I also might look into a small rotary cutter if I’m doing this again.

Lay out the decals on your material with a solid material behind it. I used a wooden board. Just using the ironing board is not recommended because it is too soft to press the decal in properly. (I spaced out the letters a bit more than in the reference image so they took up a bit more of the shirt space)

Iron on! I used the high/cotton temp and made sure each letter got at least 30seconds of heat. Always keep wax paper in between the iron and the vinyl.
Enjoy!
Some tips...
* DO wait for the ink to dry on the vinyl before cutting stuff out or you are likely to smudge your image.
* I would recommend getting clothing a size larger than you need (as i did) so you don’t have to worry about stretching and cracking of the decal.
* You can get this material in white and clear (usually dark and light fabric labels). If your image has any white bits don’t get clear as most printers don’t have white ink...